
Whether you’re opening up a new gym or upgrading your current gym floors, installing a wood gym floor can bring your indoor sports court to the next level. Brand new hardwood floors can help your facility meet certifications and comply with safety standards. Leading up to installation day, you may have some lingering questions regarding the installation process. Certain variables you may consider are the type of hardwood flooring system you want, the length of the installation process or the colors and design aspects you want in your new flooring.
Understanding all of the details that make up the gym floor installation process can help you align your expectations properly. Our gymnasium wood floor installation guide can provide you with all the information your need and help answer any questions you have.
Table of Contents
Preparing for a Wood Gym Floor Installation
Preparing for a gym floor installation differs based on the type of hardwood floor system you’re adding to your facility. The three types of performance wood floor systems you can add to your gym include:
- Fixed systems: This hardwood floor system relies on a concrete slab to anchor the flooring. This gym flooring system is the most secure and stable for fast-paced sports.
- Floating systems: The subflooring for floating systems is more shock absorbent, helping minimize injuries for players of all ages.
- Fixed resilient systems: This gym flooring combines the stability of a fixed system with the resilience of the floating system.
Nailing down the type of flooring your facility needs knocks one item off your preparation list. Some other aspects to consider are the length of the installation process, the colors of the new court, environmental conditions and minimizing foot traffic.
Installation Process Time Frame
The duration of the installation process depends on the size of the gymnasium and on the floor system you select, but you want to reserve around six weeks for the installation company to complete the project. Factor in removing existing flooring if you’re remodeling a current facility or any other extra steps that could increase the project timeframe.
Gym Court Colors
Your new hardwood basketball floor should be practical and look incredible in your gymnasium. Maple hardwood floors are stunning on their own — including specific colors for your school or organization will take your new court to the next level.
Converse with any decision-makers on the exact colors you want for each portion of the gym floor before informing the installation company. Confirming everyone is on the same page for the visual appearance of the gym floors is a necessary step before installation begins. Using an interactive court builder is an excellent way to visualize your future indoor court.
Environmental Conditions
The environment of your gymnasium is necessary for preserving the wood flooring’s quality. The environment includes the moisture levels in the air — wood expands and contracts naturally due to fluctuating moisture levels. It’s important to ensure the HVAC unit runs properly and the wood acclimates to the conditions of the gym before installation.
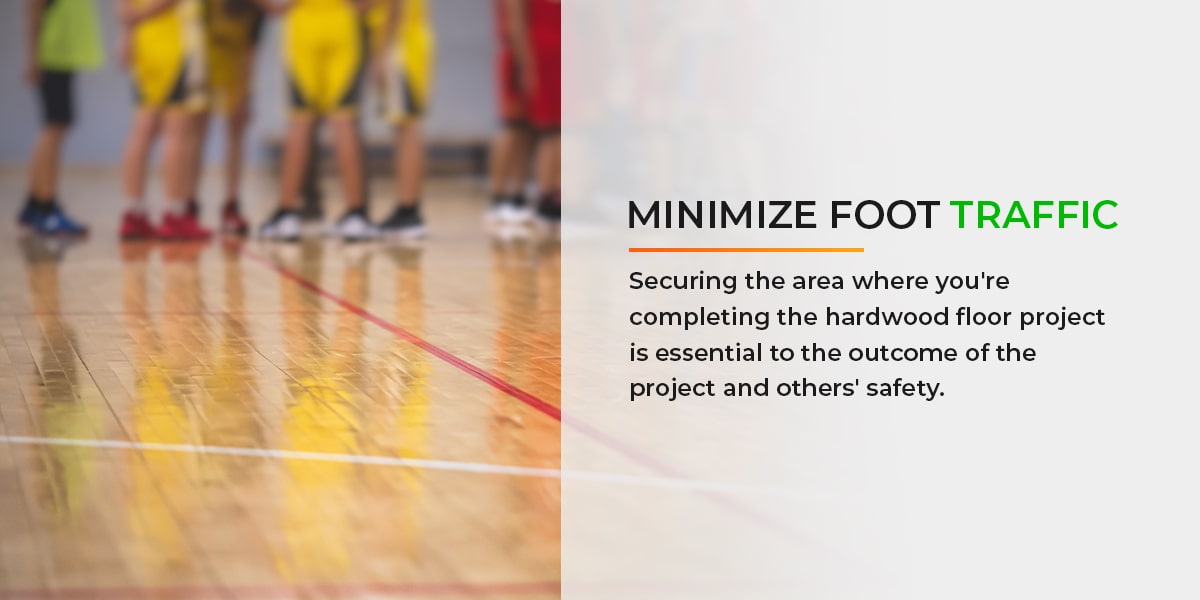
Minimize Foot Traffic
Securing the area where you’re completing the hardwood floor project is essential to the outcome of the project and others’ safety. You want to keep people safe from the large tools and materials in the area and ensure the sealing process is untouched for a clean finish. Whether you’re installing new gym floors in a school, sports arena or another complex, coming up with a plan to control foot traffic is needed in your preparation plans.
Questions to Ask Before Installation
Your new gym floors are an investment that you want to last for a long time — getting all of the information you need to make the best decisions on this process can help you achieve the best hardwood floors for your court. It’s common to have questions about the process before signing project contracts. Check out these questions to ask before installing a hardwood gym floor:
What Activities Are Intended for Gymnasium Floors?
This type of flooring is meant for sports facilities as it meets the standards for athletic flooring. New maple hardwood floors are perfect for various sports like basketball, volleyball, racquetball, dance or any recreational activities. You can also request that your gym floors be equipt to hold equipment like bleachers.
Can You Add Game Lines and Logos?
You know what activities will take place on these floors, so asking what type of game lines you can add to your flooring is important for the finished look. You’ll also want to relay any specific colors or logos to include on your gymnasium floors. Painting lines and logos before the installation team seals the flooring keeps these colors bright and prevents damage that can occur with tape lines.
What Maintenance Is Required?
Maintaining your wood gym floors is essential for upkeeping their appearance and performance. Scheduling regular cleanings with manufacturer-recommended cleaning products can help keep your court in great condition. You can also inquire about annual recoating.
What Is a DIN Certification?
DIN athletic testing standards rate a flooring system in numerous areas, including:
- Shock absorption.
- Area deflection.
- Ball rebound.
- Verticle deflection.
What Type of Finish Works Best?
The two common hardwood finishes most companies use for gymnasiums are water-based and oil-based finishes. Water-based finish contains nearly zero volatile organic compounds (VOC) and is sometimes the only finish selection depending on your area. Oil-based finish can provide an amber hue to your flooring.
How the Hardwood Court Flooring Is Installed
After hiring a trusted company to install your new gym floors — the construction process begins. Here are the seven steps for installing a hardwood court:
- Add the subfloor: The installation crew will install your subfloor first. Your subfloor will differ depending on the type of flooring system you choose.
- Let the wood acclimate: Laying out the maple flooring lets it acclimate to the environment before it’s secure to the subfloor. The duration of this process ranges depending on humidity levels and the time of year.
- Lay the wood: The crew will lay or “rack out” the wood planks across the floor.
- Fastening the flooring: After the wood acclimates, the crew can start nailing in the planks. This step involves nail guns and hammers to secure each piece of maple.
- Sand and seal: The crew sands the flooring so it’s smooth and even before topping it with a few coats of seal.
- Paint lines and logos: After the seal dries, the crew will paint game lines and logos onto the court.
- Finish: The crew applies the final finishing coats to secure everything to complete the project.

The CBA Sports Difference
If you’re looking for the perfect sports construction company to install your new gym floors, CBA Sports can rise to all of your facility’s standards. Contact us today for a free consultation or to learn more about our products and services.